Table of Contents
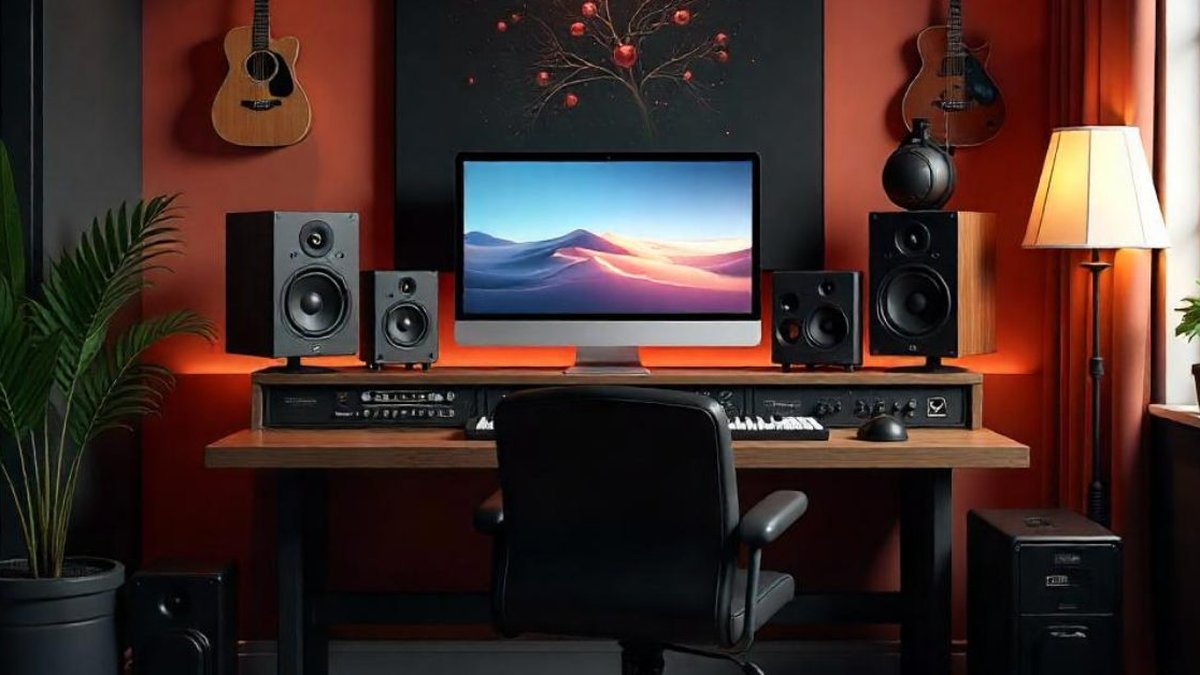
Building a home studio on a budget requires careful choices. The wrong $300 spent on a single piece of gear can leave you with a system that is incapable of professional results, while the right $300 spent strategically can produce surprisingly good recordings. This guide breaks down three budget levels for home studio builds, explaining what to prioritize at each level and why certain choices outperform alternatives at the same price.
Key Takeaways
- At $300, focus on a usable audio interface and headphones skip monitors
- At $1000, invest in monitors and a good microphone the interface matters less
- At $3000, acoustic treatment is the highest-impact upgrade over gear
- Used gear stretches your budget significantly for monitors and microphones
- A well-chosen budget setup outperforms an expensive but poorly chosen one
Budget Studio Philosophy
Before looking at specific gear, understand the principles that guide smart budget decisions. The goal is not to buy the cheapest gear, but to buy the gear that gives you the best results at your budget level.
Prioritize what affects your sound directly. The audio interface, monitors, and microphone directly affect your recording and mixing accuracy. Spend more on these and less on accessories, cables, and software. A $100 interface paired with $200 monitors outperforms a $200 interface with $100 monitors.
Room treatment before gear upgrades. At every budget level, the room is the weakest link. A $3000 monitor system in an untreated room sounds worse than a $500 monitor system in a well-treated room. Budget for basic acoustic treatment before upgrading monitors beyond the $500 level.
Used gear is your friend. Studio monitors and microphones last for decades with proper care. The used market offers significant savings. Check Reverb, Facebook Marketplace, and local classifieds for deals on monitors and microphones. Avoid used audio interfaces and headphones due to wear and hygiene concerns.
$300 Starter Studio
At $300, you are building a composition and production setup, not a tracking studio. Focus on getting a capable computer setup with decent monitoring. Recording will be limited but production is fully possible.
Audio interface: Focusrite Scarlett Solo 2i2 or Behringer U-Phoria UMC204HD. Both provide clean preamps, 48V phantom power, and low-latency monitoring at an entry-level price. The Focusrite has a slightly better build quality and driver support. The Behringer offers more features for the price including MIDI I/O. Budget: $80 to $120.
Headphones: Audio-Technica ATH-M30x or Sony MDR-7506. At this budget, skip studio monitors and invest in a good pair of closed-back headphones. The MDR-7506 is an industry standard for tracking and mixing. It is not perfectly flat but translates well. Budget: $80 to $100.
Microphone: Audio-Technica AT2020 or Behringer XM8500. The AT2020 is the best budget large-diaphragm condenser. It sounds clean and detailed for the price. The XM8500 is a dynamic microphone that works better in untreated rooms. Choose based on your recording environment. Budget: $60 to $100.
DAW: Reaper or free alternatives. Reaper has a fully functional 60-day trial and costs $60 for a personal license. Cakewalk by BandLab is completely free and capable. GarageBand is free for Mac users. Do not spend more than $100 on a DAW at this budget level.
$1000 Intermediate Studio
At $1000, you can build a complete tracking and mixing studio capable of professional results. The key is balancing spending across monitors, microphone, interface, and basic acoustic treatment.
Monitors: Kali LP-6 v2 or Yamaha HS5. The Kali LP-6 v2 is the best value in studio monitors under $400 per pair. It offers excellent frequency response, a wide sweet spot, and built-in room correction adjustments. The Yamaha HS5 is slightly less accurate in the low end but has better resale value and is a known reference. Budget: $300 to $400.
Audio interface: Focusrite Scarlett 2i2 (3rd gen) or Universal Audio Volt 2. At this level, you want cleaner preamps and better build quality. The Scarlett 2i2 is reliable and proven. The Volt 2 offers slightly warmer preamps and built-in analog processing. Budget: $150 to $200.
Microphone: Rode NT1-A or Shure SM57 + AT2020 combo. The Rode NT1-A is exceptionally quiet with a self-noise of only 4.5 dB. It captures clean, detailed vocals. Alternatively, get both an SM57 (for amps and instruments) and an AT2020 (for vocals) for maximum versatility. Budget: $150 to $250.
Acoustic treatment: DIY panels. Build 4 to 6 absorption panels and 2 to 4 corner bass traps using the DIY techniques from our acoustic treatment guide. Total material cost: $100 to $200. This is the highest-impact upgrade at this budget level.
$3000 Professional Home Studio
At $3000, you can build a professional-quality home studio that rivals commercial facilities for most recording applications. The focus shifts from compromise to refinement across all categories.
Monitors: Neumann KH 120 II or Adam A7V. The Neumann KH 120 II sets the standard for compact studio monitors with incredibly flat response, excellent imaging, and deep bass extension for their size. The Adam A7V offers ribbon tweeter detail and slightly wider sweet spot. Budget: $1000 to $1500.
Audio interface: RME Babyface Pro FS or Universal Audio Apollo Solo. RME offers rock-solid drivers, TotalMix routing, and ultra-low latency. The Babyface Pro FS is the most reliable interface in its class. The Apollo Solo offers UAD plugin processing for tracking with analog emulations. Budget: $600 to $900.
Microphone: Shure SM7B or AKG C214. The SM7B is the most popular vocal microphone in podcasting and broadcast. It handles untreated rooms well due to its tight pickup pattern and built-in presence boost. The AKG C214 brings more detail and extension for treated rooms. Pair with a cloudlifter or FetHead if using the SM7B with budget interfaces. Budget: $350 to $450.
Acoustic treatment: Professional or extensive DIY. At this level, treat the entire room thoroughly. 12 to 18 panels, full corner bass trapping, ceiling cloud, and rear wall diffusion. Hire an acoustic consultant or use room measurement software to fine-tune placement. Budget: $500 to $800.
Headphones: Beyerdynamic DT 900 Pro X (open) + DT 770 Pro (closed). The DT 900 Pro X provides excellent mixing accuracy. The DT 770 Pro handles tracking. This combination covers all monitoring needs. Budget: $300 to $400.
Smart Upgrade Paths
If you are starting at a lower budget level and planning to upgrade over time, follow a strategic path that avoids replacing gear you already own.
First upgrade: acoustic treatment. Regardless of your starting budget, acoustic treatment provides the most noticeable improvement. DIY panels are inexpensive and dramatically improve mix accuracy. Treat first reflection points and corners before spending money on better monitors.
Second upgrade: monitors. When your room is treated, better monitors reveal their full potential. Upgrade from headphones or entry-level monitors to a quality pair. The difference between $300 monitors and $1000 monitors is significant in a treated room and barely noticeable in an untreated room.
Third upgrade: microphone. After monitors and room treatment, a better microphone adds the final layer of quality. The difference between a $100 microphone and a $500 microphone is subtle compared to the difference between treated and untreated rooms. Do not rush this upgrade.
Gear to Avoid at Each Budget
Knowing what to avoid is as important as knowing what to buy. Common mistakes at each budget level waste money that could be spent on impactful gear.
Avoid at $300: Studio monitors at this price point are not accurate enough for mixing. Avoid "studio monitor" speakers under $200 per pair. Also avoid USB microphones they limit your upgrade path because the microphone, preamp, and converter are built into a single non-upgradable unit.
Avoid at $1000: Do not spend more than $200 on an audio interface. The improvement from a $200 interface to a $500 interface is minimal and the money is better spent on monitors or treatment. Also avoid buying a collection of cheap microphones. One quality microphone outperforms multiple budget options.
Avoid at $3000: Do not spend money on premium cables, expensive power conditioners, or acoustic foam. These provide negligible benefit compared to investing in room treatment, monitors, or a better microphone. Also avoid buying a subwoofer before treating your room it will cause more problems than it solves.
Budget Level Comparison Table
| Category | $300 Starter | $1000 Intermediate | $3000 Professional |
|---|---|---|---|
| Interface | Focusrite Solo / Behringer | Scarlett 2i2 / Volt 2 | RME Babyface / Apollo Solo |
| Monitors | Headphones only | Kali LP-6 / Yamaha HS5 | Neumann KH 120 / Adam A7V |
| Microphone | AT2020 / XM8500 | Rode NT1-A / SM57 combo | SM7B / AKG C214 |
| Headphones | ATH-M30x / MDR-7506 | DT 770 Pro | DT 900 Pro X + DT 770 Pro |
| DAW | Reaper / Cakewalk | Reaper / Ableton Intro | Ableton Standard / Logic Pro |
| Treatment | None | DIY panels (4-6) | Full room treatment |
| Best for | Production, basic recording | Complete tracking and mixing | Professional releases |
Frequently Asked Questions
Can I start with just a laptop and headphones?
Absolutely. Many hit songs were produced on laptops with headphones. A laptop, a decent pair of headphones, and a free or inexpensive DAW are enough to start making music. Add an audio interface and microphone when you need to record external sources. Starting simple forces you to focus on songwriting and arrangement skills, which are more important than gear quality.