Table of Contents
Introduction
MIDI (Musical Instrument Digital Interface) is the language that lets your keyboard, drum pad, or controller communicate with your computer. It does not transmit audio; it transmits performance data: which note was pressed, how hard, how long, and when. This data can be edited, quantized, and assigned to any virtual instrument. Understanding MIDI is essential for modern music production.
Key Takeaways
- MIDI is performance data, not audio. It records what you play, not the sound itself.
- USB MIDI controllers are plug-and-play on modern computers. No special drivers needed for most devices.
- Velocity (how hard you press) controls dynamics. Program velocity variations for human-sounding parts.
- CC (Continuous Controller) messages control modulation, expression, and other real-time parameters.
- Quantization tightens timing but over-quantizing kills feel. Use 50-75% quantization strength for natural grooves.
What Is MIDI?
MIDI was invented in 1983 as a standard way for synthesizers from different manufacturers to communicate. The protocol uses 16 channels, meaning a single MIDI cable can carry data for 16 different instruments simultaneously. Each MIDI message contains a status byte (what type of message: note on, note off, controller change) and data bytes (which note, what velocity). A note-on message for middle C (note 60) at velocity 100 looks like: 0x90 0x3C 0x64. Modern DAWs handle all this translation internally, so you never need to think about hex codes, but understanding the concept helps when troubleshooting.
How to Connect a MIDI Controller
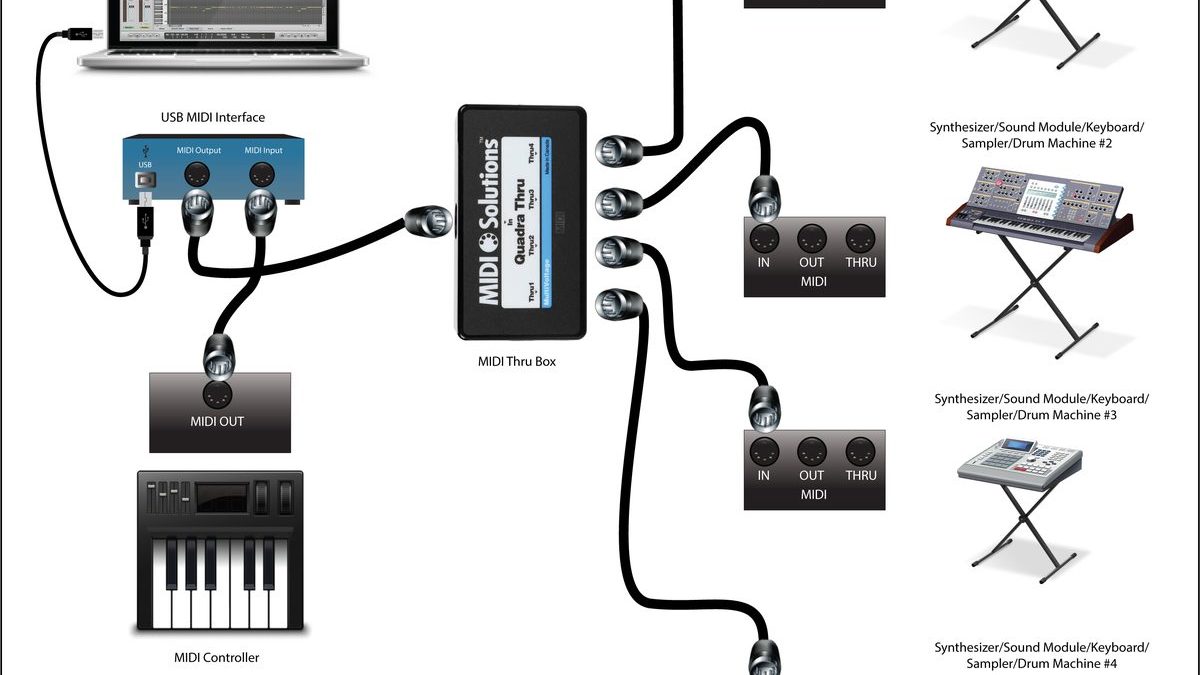
Most modern MIDI controllers connect via USB. Plug the controller into your computer, and your operating system recognizes it as a MIDI input device. Open your DAW, create a new instrument track, and select the controller as the input device. If you are using older equipment with 5-pin DIN MIDI ports, you need a USB MIDI interface. These typically have one MIDI input and one or more MIDI outputs. Connect the MIDI out of your controller to the MIDI in of the interface, and the interface connects to your computer via USB. Wireless MIDI controllers using Bluetooth are increasingly common. Devices like the CME Xkey Air or Roli Seaboard connect without cables and offer low enough latency for live playing. Bluetooth MIDI works best with computers that support Bluetooth 4.0 or later and have dedicated drivers for low-latency operation.
Setting Up MIDI in Your DAW
In Ableton Live, open Preferences -> Link/MIDI and enable your controller under Control Surface and Input. In FL Studio, go to Options -> MIDI Settings and select your controller from the Input list. In Logic Pro, open Preferences -> MIDI and the controller should appear automatically. Most DAWs now support auto-discovery: plug in a USB controller and it appears in your track inputs without configuration. If your controller has pads, knobs, or faders, you may need to set up a control surface script to map them to your DAW's controls. Ableton Live has built-in scripts for dozens of controllers. FL Studio uses generic MIDI learn mode: right-click any parameter and move the controller knob. Logic Pro uses the Controller Assignments window for custom mappings.
Programming MIDI: Notes, Velocity, and CC
Programming MIDI in the piano roll is where most production happens. Each note is represented as a rectangle on a grid. The vertical position determines pitch, the horizontal position determines timing, and the length determines duration. Double-click to create a note, drag to move it, and adjust the edges to change duration. Velocity is shown as a vertical bar at the bottom of the piano roll or as a color intensity on the note. Humanize velocity so not every note hits at the same level. Drums typically use high velocity on snare hits (100-127), medium on hi-hats (80-100), and lower on ghost notes (40-60). CC data is drawn as automation lanes. Common CC messages: CC1 (modulation wheel) for vibrato, CC7 (volume), CC10 (pan), CC64 (sustain pedal). Draw gradual curves for smooth modulation. CC data can be recorded in real time by moving your controller's knobs or wheels while playing.
MIDI Effects and Quantization
MIDI effects transform incoming MIDI data before it reaches the instrument. An arpeggiator takes a chord and plays the notes in sequence at your chosen rate and pattern. A chord trigger lets you play single notes that trigger full chords. A velocity processor scales or randomizes velocity values. A quantizer snaps off-key notes to the nearest correct pitch in your chosen scale. Quantization tightens timing by snapping notes to the nearest grid division. Full quantization (100% strength) snaps every note exactly to the grid, which can sound robotic. Use 50-75% quantization strength to preserve some human timing variation. Swing quantization adds a shuffle feel by delaying offbeat eighth notes. Most DAWs let you quantize only selected notes, so tighten the kick and snare while leaving hi-hats loose.
Practice Exercises
| Exercise | Task | Goal |
|---|---|---|
| 1 | Connect your controller, record a simple chord progression | Confirm MIDI connection and basic recording |
| 2 | Edit velocity of each note in the piano roll | Understand velocity editing tools |
| 3 | Draw a modulation wheel (CC1) automation curve | Learn CC automation drawing |
| 4 | Program a drum pattern with varied velocity | Apply velocity to realistic drums |
| 5 | Add an arpeggiator and adjust its pattern | Explore MIDI effects |
Frequently Asked Questions
- Do I need a MIDI controller to produce music?
- Not strictly, but it speeds up workflow significantly. You can draw MIDI notes with your mouse in the piano roll, but a keyboard controller lets you play in ideas naturally and capture expressive performances.
- What is MIDI latency and how do I fix it?
- Latency is the delay between pressing a key and hearing the sound. Fix it by lowering your audio buffer size (128 samples or lower) in your DAW's audio settings. ASIO drivers on Windows provide lower latency than standard drivers.
- Can I use a digital piano as a MIDI controller?
- Most digital pianos with USB connectivity can send MIDI data. Check your manual for "USB-MIDI" mode. Some older models require a 5-pin MIDI connection through an interface.
- What is the difference between MIDI and audio tracks?
- MIDI tracks contain performance data that triggers virtual instruments. Audio tracks contain recorded sound waves. MIDI is editable (change notes, timing, velocity), while audio is fixed once recorded. You can convert MIDI to audio by bouncing or freezing the track.
- How many MIDI channels can I use at once?
- Standard MIDI supports 16 channels per port. Modern USB-MIDI devices can appear as multiple ports, allowing 32, 48, or more channels. In practice, your DAW handles unlimited MIDI tracks; the channel limit only matters when communicating with external hardware synths.
Conclusion
MIDI is the backbone of modern music production. Learn to connect your controller, set up MIDI tracks in your DAW, edit notes and velocity in the piano roll, and use MIDI effects for creative inspiration. Start by connecting your controller and recording a simple chord progression. Add velocity variation and a subtle arpeggiator to bring it to life.
As you gain confidence, explore MIDI mapping to assign controller knobs and faders to your DAW parameters. This hands-on control speeds up your workflow and makes the production process feel more like playing an instrument than operating software.
Remember that MIDI is not just for keyboards. Drum pads, wind controllers, guitar MIDI pickups, and even foot pedals can send MIDI data, opening up expressive possibilities beyond traditional keyboard playing. Experimenting with different controllers expands your creative palette and helps you find the tools that match your natural musical instincts.
MIDI also serves as the bridge between traditional musicianship and modern production. A classically trained pianist can use a weighted MIDI controller to trigger orchestral sample libraries, while a guitarist can use MIDI pickups to control synthesizers and effects. This flexibility makes MIDI an essential skill for any musician working in contemporary music production, regardless of their primary instrument.
The key to mastering MIDI is consistent experimentation. Start with simple setups, explore your DAW MIDI effects, and gradually build a workflow that integrates MIDI control into every stage of your music production process from initial composition to final mixing automation.
Pro Tip: MIDI is not just for keyboards. Drum pads, wind controllers, guitar MIDI pickups, and even foot pedals can send MIDI data, opening up expressive possibilities beyond keyboard playing.